
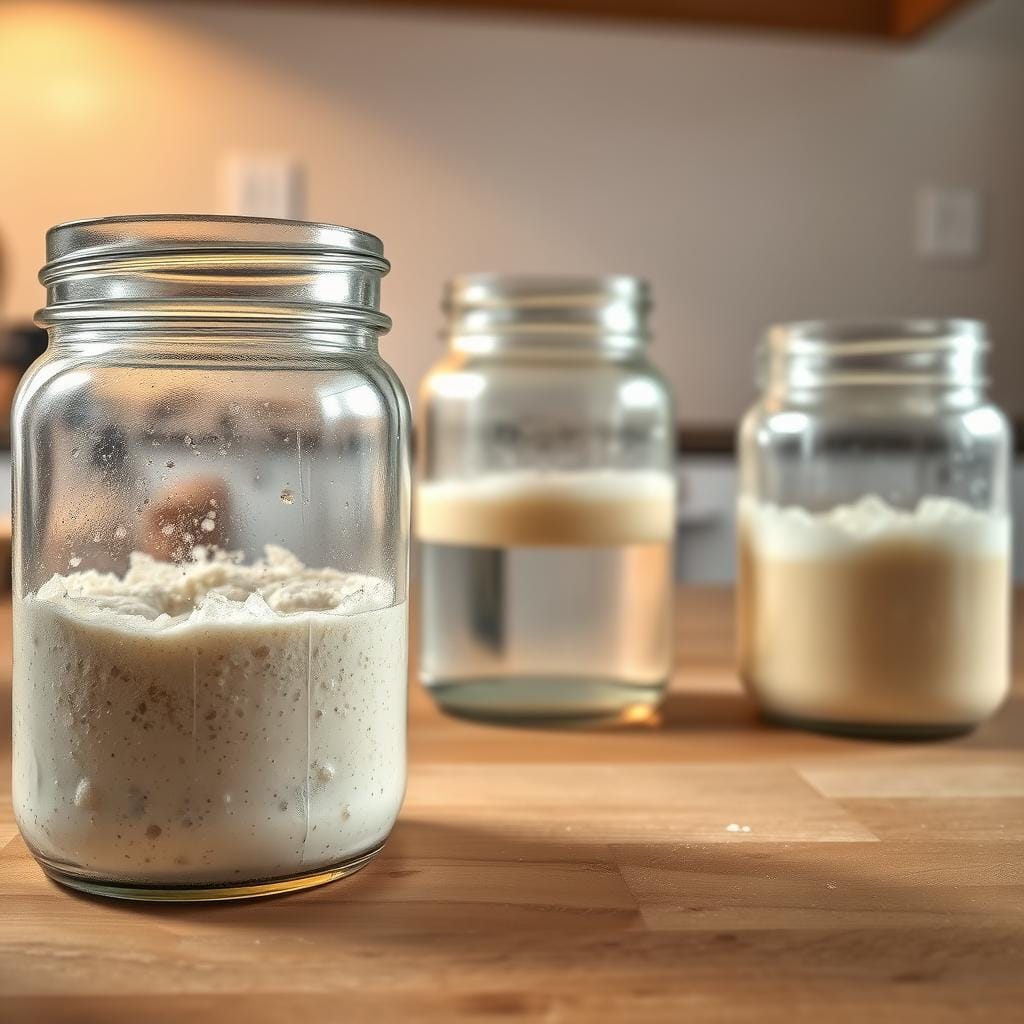
Ever wondered how to make sourdough starter? The secret of flavorful and soft bread
Creating a sourdough starter is like art. It turns simple ingredients into a powerful mix of yeast and bacteria. Your journey starts with understanding this magical process.
A sourdough starter recipe uses natural microorganisms from your area. This makes your bread taste uniquely yours. It’s more than baking—it’s a tradition.
This guide will show you seven steps to make a great sourdough starter. Whether you’re new to baking or experienced, these tips will help you in just seven days.
Get ready for a tasty adventure that will change your baking at home. Your sourdough journey begins here!
Table of Contents
Understanding the Magic of Sourdough Fermentation
Sourdough is an ancient art of bread-making. It turns simple ingredients into a living, breathing culinary marvel. This method has been around for thousands of years, long before commercial yeast.
At the heart of sourdough is a fascinating microbial ecosystem. Your wild yeast starter is a complex community of beneficial bacteria and wild yeasts. They work together to create unique flavors, improve digestibility, and develop bread’s characteristic texture.
The Science of Microbial Collaboration
When you create a wild yeast starter, you’re cultivating a dynamic environment. Microorganisms thrive here. The fermentation process involves two key players:
- Wild yeasts that generate carbon dioxide
- Lactic acid bacteria that produce distinctive tangy flavors
Natural Fermentation Magic
The natural fermentation process breaks down complex carbohydrates. This makes nutrients more accessible. The transformation occurs through enzymatic activity that:
- Reduces gluten sensitivity
- Enhances mineral absorption
- Creates a more digestible bread
Homemade Sourdough Benefits
“Sourdough is not just bread; it’s a living tradition passed down through generations.” – Artisan Baker
Creating your own sourdough starter offers remarkable advantages. You’ll enjoy bread with deeper flavors, improved nutritional profile, and the satisfaction of crafting something unique from simple ingredients.
Essential Tools and Ingredients for Your Sourdough Journey
Starting your sourdough starter adventure needs careful planning. Knowing the right tools and ingredients is key for success.
- Digital kitchen scale (for precise measurements)
- Glass or mason jar with loose lid
- Measuring cups and spoons
- Wooden or silicone spatula
- Clean fork for mixing
Choosing the right ingredients is important. You’ll need:
- Flour: Mix 70% all-purpose white flour with 30% whole-grain rye flour for best fermentation
- Water: Use filtered or bottled water at room temperature (70-80°F)
“The secret to a vibrant sourdough starter lies in consistent care and quality ingredients.”
Tip for beginners: Keep the temperature around 80°F (26°C). Also, aim for a 100% hydration level. This means equal flour and water during feeding, usually a 1:1:1 ratio.
Remember, your ingredients affect your sourdough’s flavor and strength. Try different combinations to find what works best for you!
How to Make Sourdough Starter: A Complete Guide
Creating your own sourdough starter is an exciting journey into the world of natural fermentation. This guide will walk you through the essential steps to craft a vibrant, active sourdough starter. It will become the heart of your artisan bread baking.
Choosing the Right Flour Combination
When learning how to make sourdough starter, selecting the right flour is crucial. Whole wheat flour provides an excellent foundation for your starter. It has rich nutrients and wild yeast potential. For your sourdough starter recipe, consider these flour options:
- Whole wheat flour
- Rye flour
- Pumpernickel flour
- Unbleached all-purpose flour
Water Temperature and Quality Requirements
The water you use plays a critical role in your sourdough starter recipe. Aim for filtered or spring water at room temperature, ideally around 70-75°F (21-24°C). Avoid chlorinated tap water, as it can inhibit the natural fermentation process.
“The quality of water can make or break your sourdough starter’s development.” – Artisan Bread Experts
Mixing Your Initial Starter
Day 1 of creating your sourdough starter is fundamental. Here’s a simple method to begin:
- Combine ½ cup (60g) of whole wheat flour
- Add ⅓ cup (80ml) of lukewarm water
- Mix thoroughly in a clean glass jar
- Cover loosely and let sit at room temperature
The initial mixture might look thick and pasty. Don’t worry! This is perfectly normal. Within 24-48 hours, you should start seeing small bubbles forming. This indicates the beginning of fermentation.
Remember, patience is key when learning how to make sourdough starter. The process typically takes 7-14 days, depending on environmental conditions. Stay consistent with your feeding schedule, and you’ll soon have a robust, active starter ready for delicious bread baking.
Creating the Perfect Environment for Your Starter
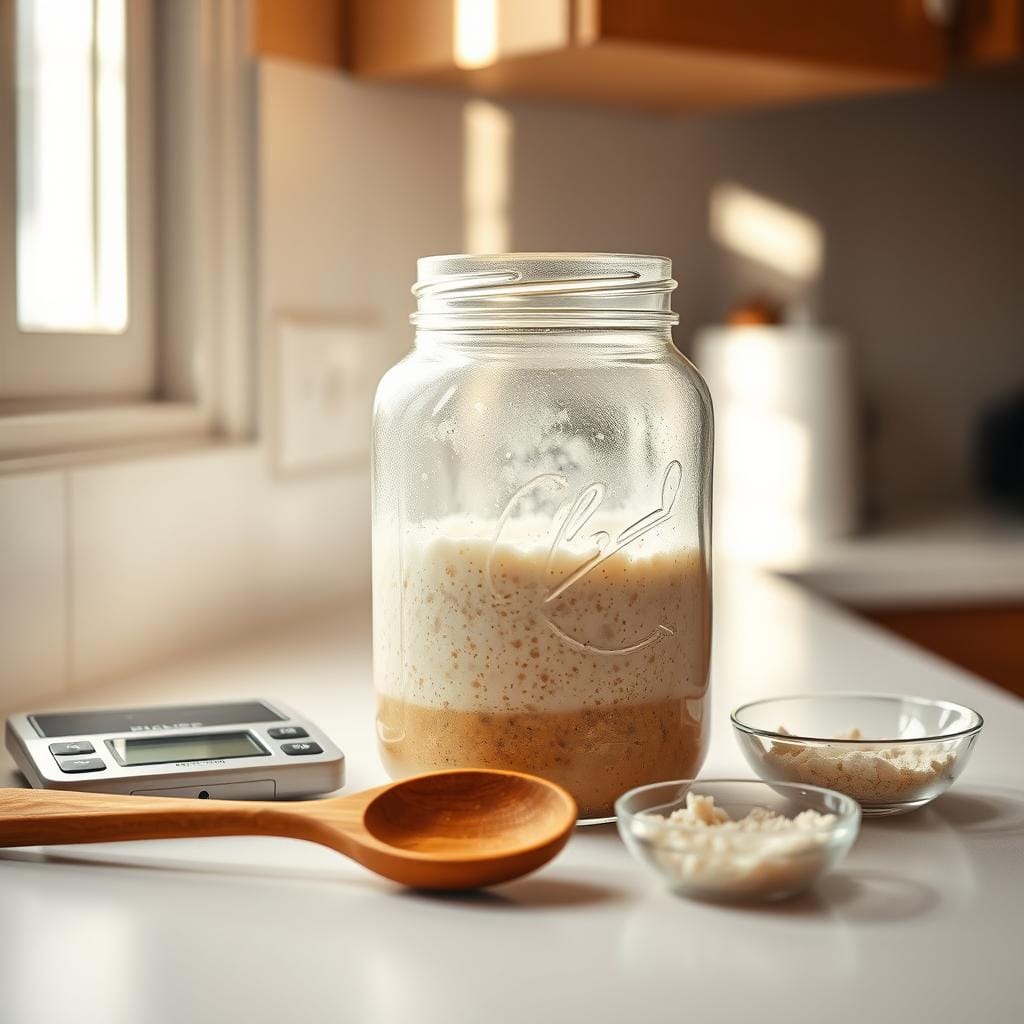
To make a successful wild yeast starter, you need the right environment. The ideal temperature is around 80°F (26°C). This temperature helps the yeast and bacteria grow well and add great flavors.
Your starter needs a consistent, caring place to grow. Here are some important things to consider:
- Choose a warm, draft-free spot in your kitchen
- Use a clear glass container with enough room for it to grow
- Keep it away from direct sunlight and big temperature changes
- Make sure there’s good air around the starter
Picking the right container is crucial. A wide-mouth glass jar is best. It lets you see how the starter is doing. Tip: Use a rubber band to mark how high the starter is. This helps you see how it’s growing and fermenting.
“The magic of sourdough happens in the details of its environment” – Artisan Baker’s Wisdom
Water quality is also very important. Use room temperature, filtered water. This avoids chlorine that can slow down fermentation. Just 5-10 minutes of care each day will make your starter a great baking friend.
Be patient. A strong sourdough starter takes 6-9 days to be ready. Keep up with the feeding schedule and your starter will give you tasty, tangy bread.
Daily Feeding Schedule and Maintenance Tips
Keeping your sourdough starter healthy needs regular care. A good feeding schedule is key to its success. By following some simple steps, your starter will stay lively and ready for baking.
Proper Feeding Ratios
For a great sourdough starter, knowing the right feeding mix is important. Here’s a good way to do it:
- Use 70% medium-protein bread flour and 30% whole grain dark rye flour.
- Feed it with 20g ripe starter, 70g all-purpose flour, 30g rye flour, and 100g water.
- Feed it twice a day, usually at 9:00 a.m. and 9:00 p.m.
Signs of Healthy Fermentation
A healthy sourdough starter shows a few key signs:
- It grows by 100% in 4-6 hours after feeding.
- It has lots of bubbles on the sides and top.
- Its smell changes from sweet to sour.
- It grows more at room temperature (around 75°F/23°C).
Pro tip: Your starter is at its best when it’s bubbly and smells slightly acidic!
Troubleshooting Common Issues
Watch out for these common problems with your sourdough starter:
- Vinegar-like smell: Means it needs more feeding.
- Slow growth might mean you need to adjust the temperature.
- Use 5g of starter in hot temperatures.
- Use 25g in cold temperatures.
Remember, your sourdough starter is alive. Be patient and keep it well cared for. This will help you create a strong, tasty starter for homemade bread.
Understanding the Rise and Fall Cycle
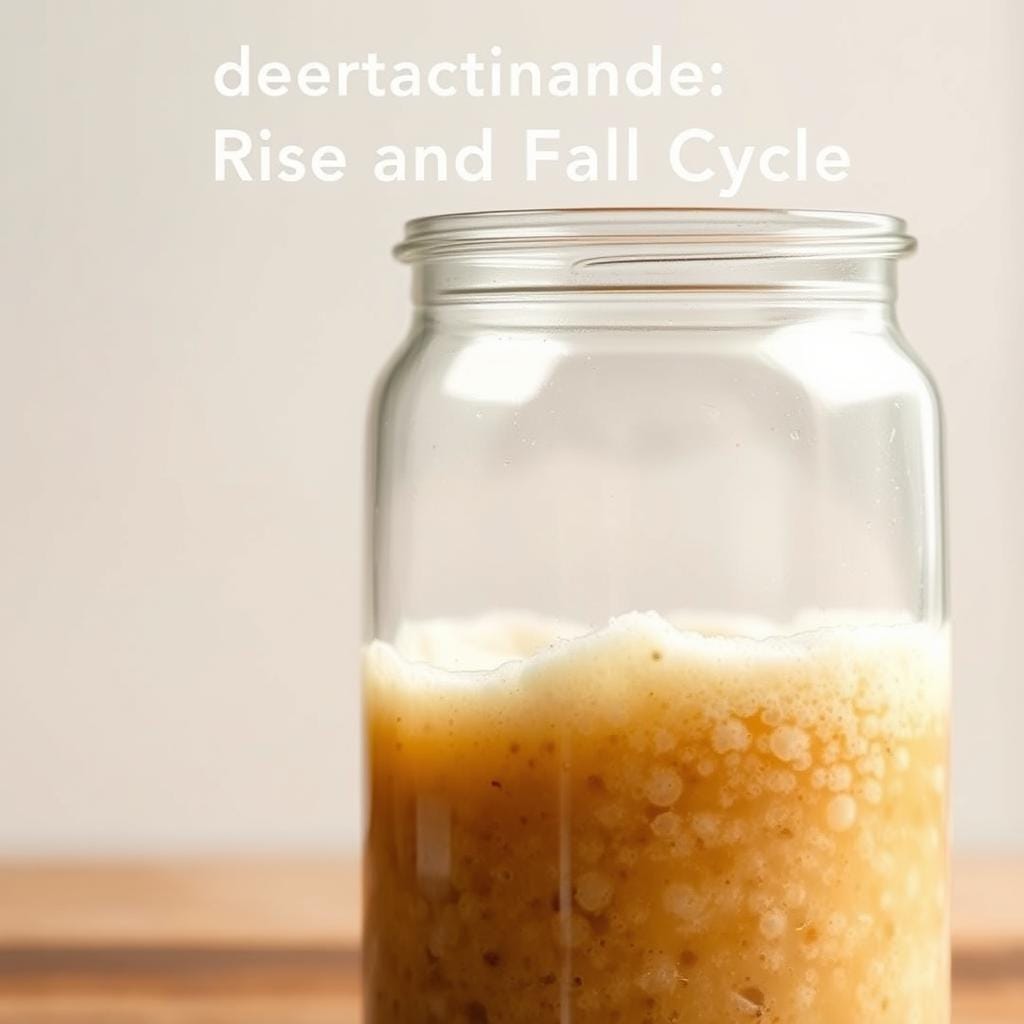
Creating a successful sourdough starter means knowing its rise and fall cycle. Your wild yeast starter is a living world that goes through predictable stages. These stages can be tracked with simple methods.
To keep track of your sourdough starter, use these easy methods:
- Place a rubber band around the jar at the starter’s initial level
- Mark the starting point with a piece of masking tape
- Observe the starter’s volume changes during fermentation
The rise and fall cycle usually follows this pattern:
- Initial feeding: Starter appears relatively flat
- Early fermentation: Small bubbles begin to form
- Peak activity: Starter doubles in volume with significant bubbling
- Decline stage: Bubbles reduce, starter begins to collapse
“A well-maintained sourdough starter should double in size within 4-8 hours of feeding.” – Sourdough Experts
Knowing this cycle helps you find the best time to bake or feed. At peak activity, your starter will have a shiny surface with many large bubbles. This means it’s ready for your favorite bread recipes.
Signs Your Sourdough Starter is Ready for Baking
Making a sourdough starter is a journey that needs patience and attention. Your starter will show signs when it’s time to bake.
Knowing when your starter is at its best is key for great bread. Look for these signs to see if your starter is ready.
The Float Test Method
The float test is a simple way to check if your starter is ready. Here’s how to do it:
- Drop a small spoonful of starter into a bowl of room temperature water
- If the starter floats, it’s ready for baking
- If it sinks, the starter needs more time to develop
Visual and Aromatic Indicators
A mature sourdough starter has certain traits:
- Size and Volume: It should double or triple in size
- Bubbles: It should have lots of bubbles, big and small
- Texture: It should be spongy, fluffy, and slightly stretchy
- Smell: It should have a pleasant, slightly tangy smell
“A healthy starter is like a living ecosystem, full of vibrant fermentation and promise.”
When your starter shows these signs consistently, it’s time to make delicious homemade bread.
Storage Solutions and Long-term Maintenance

Learning how to care for your sourdough starter is essential for home bakers. With the right storage, your starter can be a long-term friend in your baking journey. Knowing how to keep and care for your starter means you’ll always have a reliable leavening agent.
Refrigeration is a great way to keep your starter, perfect for those who bake less often. You can store it in the fridge for up to 3 weeks without major problems. Pro tip: Reduce feeding frequency when refrigerated to slow down fermentation.
- Refrigerator storage reduces feeding to once per week
- Maintain starter at consistent cool temperatures
- Allow starter to come to room temperature before feeding
For long-term storage, try these methods from the beginner’s guide to sourdough starter preservation:
- Dried starter method: Dehydrate your starter on parchment paper
- Freeze in small portions for extended preservation
- Use airtight containers to prevent moisture contamination
“A well-maintained sourdough starter can live for years with proper care” – Artisan Baking Experts
Temperature is very important for starter care. Keep your starter at 70-75°F (21-24°C) for best fermentation. When reviving a refrigerated or dried starter, feed it twice a day for a few days to get it back to full activity.
Consistent care is crucial for sourdough starter maintenance. With these tips, you’ll have a strong and reliable starter for all your baking needs.
Common Mistakes to Avoid When Creating Your Starter
Starting your sourdough starter journey can be challenging. Many beginners face common issues that can stop their bread-making dreams.
Temperature is key for your sourdough starter. It should be between 70 and 85 degrees Fahrenheit. If it’s too hot or cold, your starter might not grow well.
- Avoid using chlorinated water, which can kill beneficial microorganisms
- Maintain a consistent feeding schedule
- Use high-quality, unbleached flour
- Watch for signs of potential issues
Pro tip: Don’t panic if you see a thin layer of liquid (hooch) on top of your starter. This is normal and can be stirred back in or poured off before feeding.
“Patience is key in sourdough starter creation. Your starter is a living ecosystem that takes time to develop.” – Sourdough Experts
How wet your starter is matters a lot. Beginners should aim for 70% hydration. Start with equal parts flour and water, then adjust as you get better.
- Feed your starter consistently
- Use room temperature ingredients
- Observe your starter’s behavior
- Keep your workspace clean
Creating a perfect sourdough starter takes time. Don’t worry if your first tries aren’t perfect. With patience and care, you’ll get a strong starter that makes great bread.
Conclusion: Your Journey to Sourdough Success
Your sourdough starter journey is more than a recipe—it’s a path to making artisan bread. You’ve learned the art of growing wild yeast and turning simple ingredients into amazing bread. Remember, patience and consistency are key.
Start by keeping a regular feeding schedule and the right environment for fermentation. Success comes from knowing your starter’s habits—watch for bubbles and its rise and fall. Use the water float test to check if your starter is ready for baking.
Each sourdough starter is a living thing that shows your dedication. Use the right temperature and flour types to make a strong starter. Don’t worry about early setbacks—every baker learns and grows.
Your sourdough adventure is just starting. Enjoy the journey, try new things, and relish the tasty bread you make. Share your stories with other bread lovers and keep exploring sourdough bread making.
FAQ
What exactly is a sourdough starter?
How long does it take to create a mature sourdough starter?
What type of flour works best for creating a sourdough starter?
How often do I need to feed my sourdough starter?
What are signs that my sourdough starter is healthy?
Can I use tap water for my sourdough starter?
What temperature is best for maintaining a sourdough starter?
How do I store my sourdough starter long-term?
What should I do if my starter develops mold?
Can I use my sourdough starter right after feeding?
Source Links
- Beginner Sourdough Starter Recipe – The Clever Carrot – https://www.theclevercarrot.com/2019/03/beginner-sourdough-starter-recipe/
- How to Make Sourdough Starter – https://littlespoonfarm.com/sourdough-starter-recipe/
- How to Make a Sourdough Starter – https://www.farmhouseonboone.com/make-sourdough-starter-scratch/
- How to Make Homemade Sourdough – https://revolutionfermentation.com/en/blogs/tempeh-soy-grains/how-to-make-sourdough-starter/